Whether you’re an experienced baker or a novice keen on taking your cake-decorating skills to the next level, crafting a beautiful, multi-tiered cake can be quite the task. This guide will delve into the intricacies of tiering a cake, explaining the process step by step and offering tips to make your baking journey a smooth one. Are you ready? Let’s get started!
What Is a Tiered Cake?
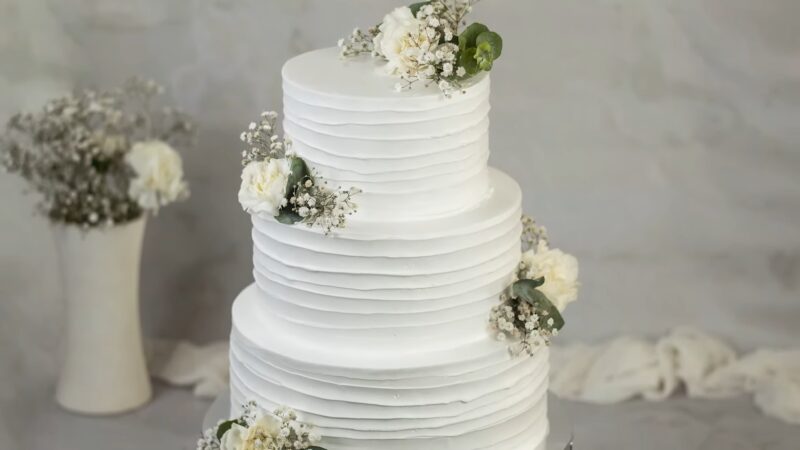
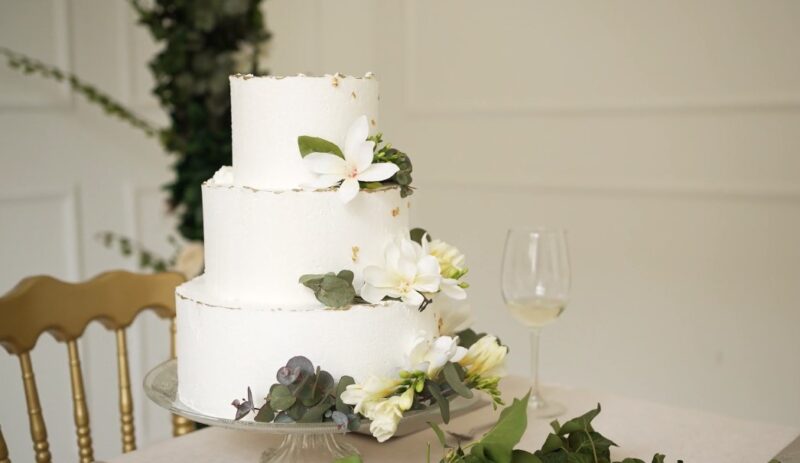
A tiered cake, as the name implies, is a cake with multiple layers or “tiers.” These cakes are often associated with special occasions, such as weddings, birthdays, or anniversaries, owing to their grandeur and the attention they draw.
Materials You’ll Need
The first step is to gather your materials. Here’s a list of the basics:
- Cake Pans: You’ll need cake pans in different sizes, depending on how many tiers you want and how big you want each tier to be.
- Cake Boards: Each tier should be placed on a cake board for stability.
- Dowels or Straws: These provide support between tiers, preventing the cake from collapsing.
- Serrated Knife: This is essential for leveling and torting your cake layers.
- Cake Mix or Ingredients: Choose a recipe that you are comfortable with. Make sure it’s sturdy enough to hold up the weight of the tiers.
- Frosting: Buttercream is a common choice because it’s easy to work with and offers a smooth finish.
- Decorations: This is where you can get creative. Use fondant, edible flowers, icing, or any other decorations of your choice.
Baking Process
The second step involves baking the cake. Once you’ve chosen your recipe, follow these steps:
- Preheat the Oven: Preheat your oven according to the recipe’s instructions.
- Prepare the Pans: Grease and flour your cake pans or line them with parchment paper to prevent the cake from sticking.
- Mix the Ingredients: Follow your chosen recipe carefully, making sure not to overmix.
- Pour and Bake: Pour the batter into the prepared pans and bake as directed by the recipe.
- Cool: After baking, let the cakes cool completely before moving on to the next step.
Layering Process
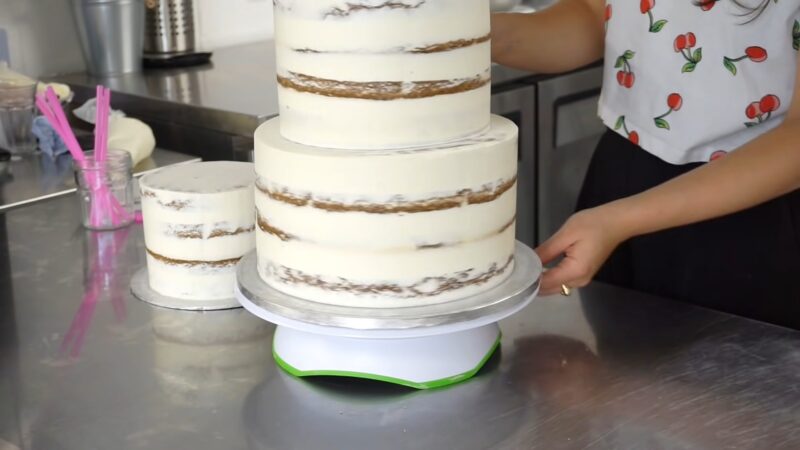
This stage involves cutting your cakes into layers and filling them. Here’s how:
- Level the Cakes: Using your serrated knife, trim the tops of your cakes so they’re flat. This is known as “leveling.”
- Torte the Cakes: If you’d like, you can cut your cakes into thinner layers horizontally, a process known as “torting.” This allows you to add more filling between the layers.
- Add Filling: Spread your chosen filling (such as frosting, jam, or cream) between each layer.
- Crumb Coat: Apply a thin layer of frosting all over the cake to catch any loose crumbs. Let this chill in the refrigerator for about 30 minutes to set.
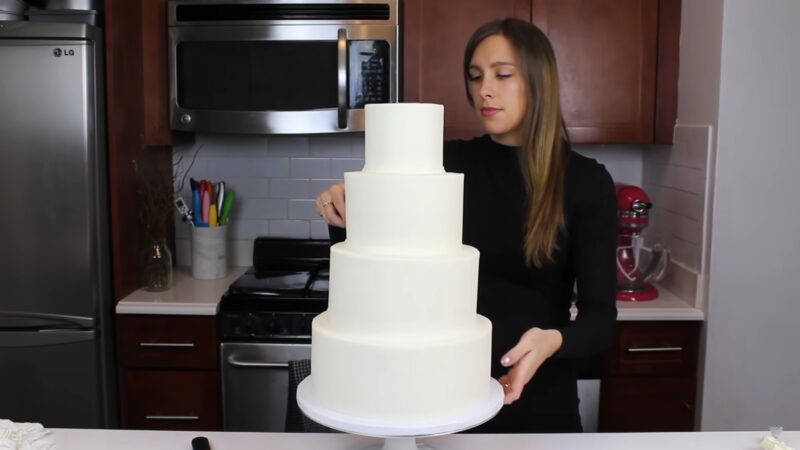
Stacking the Tiers
Now that each tier is assembled, it’s time to stack them. This process can be a bit tricky, but don’t worry—we’ve got you covered!
- Measure and Insert the Dowels: Place the dowels or straws into the bottom tier, evenly distributed to support the weight of the next tier. The dowels should be cut so they’re flush with the surface of the cake.
- Place the Next Tier: Carefully place the next tier on top of the dowels, ensuring it’s centered. Repeat this process for any additional tiers.
- Secure the Tiers: Drive a long dowel through the center of the cake, going through all the tiers. This will keep them secure and prevent shifting.
Remember, patience is key here. You want to make sure everything is lined up correctly to avoid any cake disasters!
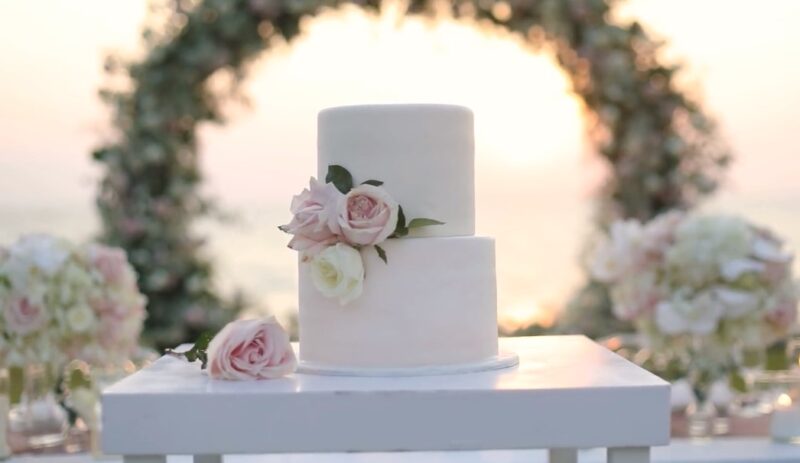
Decoration
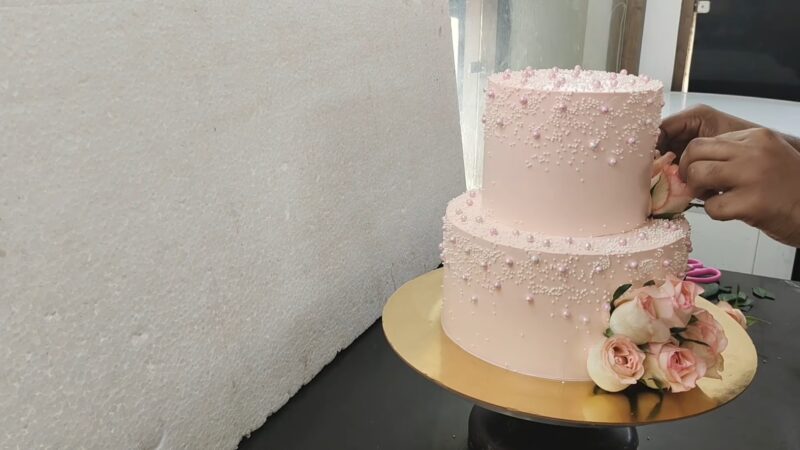
You’ve made it to the final step – decorating! This is where your cake really comes to life. Let’s go over some popular decorating techniques:
- Frosting the Cake: Apply a final coat of frosting all over the cake. Use a cake spatula or bench scraper to smooth the frosting for a clean, professional look.
- Applying Fondant: If you’re using fondant, roll it out evenly and carefully drape it over your cake. Smooth it out with a fondant smoother, trimming off any excess.
- Decorative Details: Add decorative elements like piped borders, sugar flowers, or fondant figures. Be creative and let your style shine through!
Remember to keep your decorations in proportion to the size of the cake. Too many decorations can make a cake look crowded, while too few might leave it looking bare.
Advanced Techniques for Tiered Cakes
After mastering the basics of tiered cakes, you may want to take your skills further. This section will expand on the previous guide, introducing more advanced techniques and tips to truly elevate your tiered cakes.
Choosing Cake Flavors and Fillings
Having a tiered cake allows for an opportunity to experiment with different flavors. Each tier can be a different flavor cake with a complementary filling. This not only adds visual appeal when the cake is cut, but it also provides a variety of tasty options for guests.
Chocolate, vanilla, and red velvet are classic choices but don’t shy away from less traditional options like matcha, earl grey, or lavender. The same applies to fillings—while buttercream is a staple, consider using cream cheese frosting, ganache, fruit curds, or even flavored whipped creams.
Experimenting with Shapes and Sizes
A tiered cake doesn’t always have to be round. Why not experiment with square, rectangular, or even hexagonal shapes? Combining different shapes can also make for a striking design. Just remember, whatever shape you choose, ensure you have the correct size cake boards and that you adjust your support structure accordingly.
Themed Cakes
Taking your tiered cake to the next level could mean designing a themed cake. These cakes are designed around a particular theme, like a holiday, event, or even a favorite movie or book series. Each tier can represent different aspects of the theme, which allows for a lot of creativity in both design and flavor choices.
Incorporating Sugar Work
Sugar work can make your tiered cake stand out. Elements such as pulled sugar flowers, blown sugar bubbles, or spun sugar nests add a wow factor to any cake. Be warned, though—sugar work requires practice and careful handling, as sugar becomes extremely hot when melted!
Transporting Tiered Cakes Safely
One of the trickiest parts of creating a tiered cake can be moving it. Ensure you have a sturdy base to support the cake during transportation. In some cases, it might be safer to transport the tiers separately and assemble them at the venue. Always drive slowly and carefully when transporting your cake.
The Science Behind Baking Perfect Cakes
Knowing the science behind baking can help you troubleshoot any issues and consistently bake perfect cakes. For instance, understanding the roles of leavening agents can help you achieve the right cake texture. Acidic ingredients like lemon or vinegar react with baking soda to produce carbon dioxide, giving your cake lift. Additionally, knowing how different types of fat (like butter or oil) impact your cake’s texture can guide you in selecting the right ingredients for your recipe.
Final Thoughts
Creating a tiered cake might seem daunting, but with patience and practice, you’ll find it’s an incredibly rewarding process. There’s nothing quite like the sense of accomplishment you’ll feel when you see your beautifully tiered cake, knowing you created it from scratch.
Keep in mind that every baker encounters challenges along the way. Don’t be discouraged if your first few attempts don’t turn out as you’d hoped. With each cake you bake, you’ll gain more experience and knowledge, improving your skills and getting closer to perfection.
Above all, enjoy the process! Baking should be fun and fulfilling, and there’s plenty of room for creativity and personal expression. So put on your apron, gather your tools, and start baking your masterpiece.